
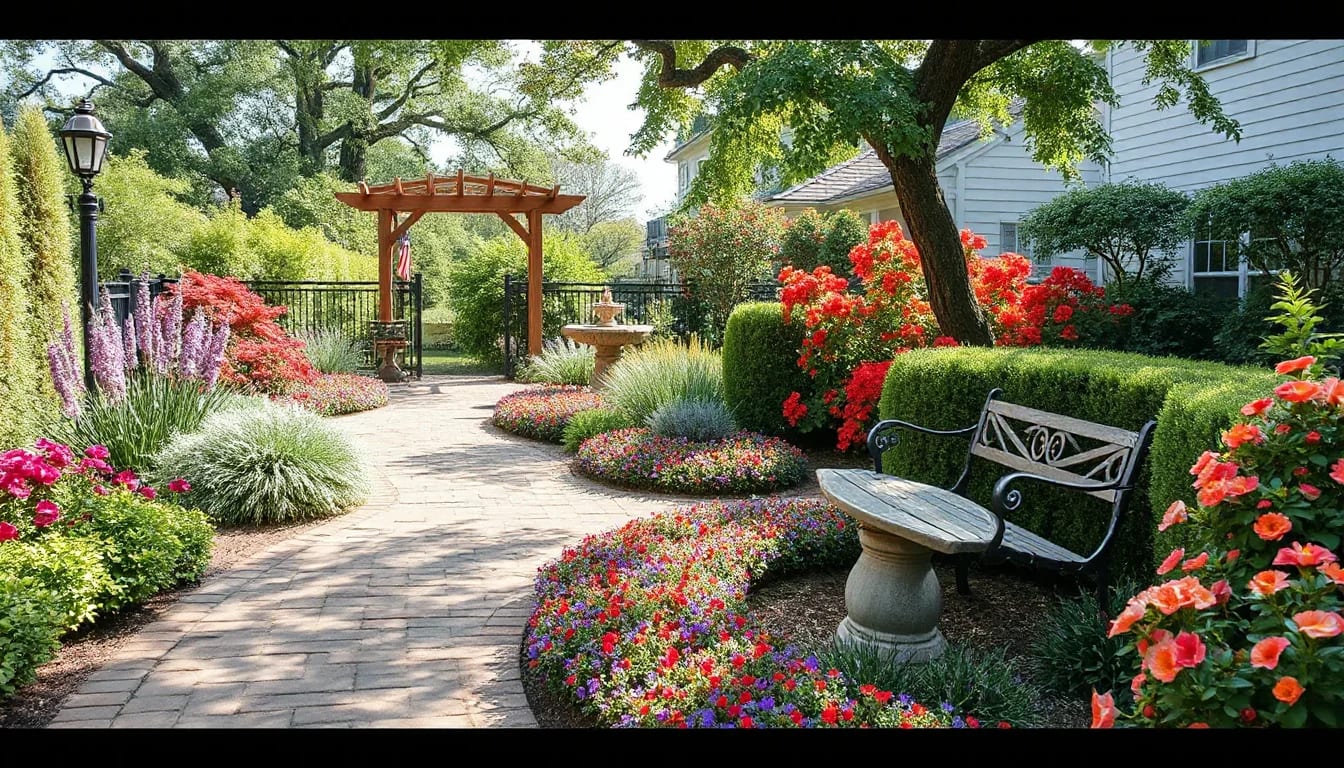
Listing photos are often a buyer’s first introduction to a Kiawah Island property, and small details can shape the entire impression. A thoughtful plan for light, furniture placement, outdoor spaces, and coastal upkeep helps your home look polished while allowing its architecture and setting to take center stage. The goal is not to make a home look unfamiliar—it is to make every room easy to understand at a glance.
Begin With the Story Your Home Already Tells
Kiawah Island homes have a visual advantage: shifting marsh light, maritime forest, golf and lagoon views, breezy porches, and distinctive Lowcountry architecture can all create an immediate sense of place. The most successful listing photos begin by identifying the property’s strongest story. It may be a light-filled great room, a deep screened porch, a pool terrace, a waterfront outlook, or carefully preserved architectural details. Once that story is clear, staging decisions become simpler and more purposeful.
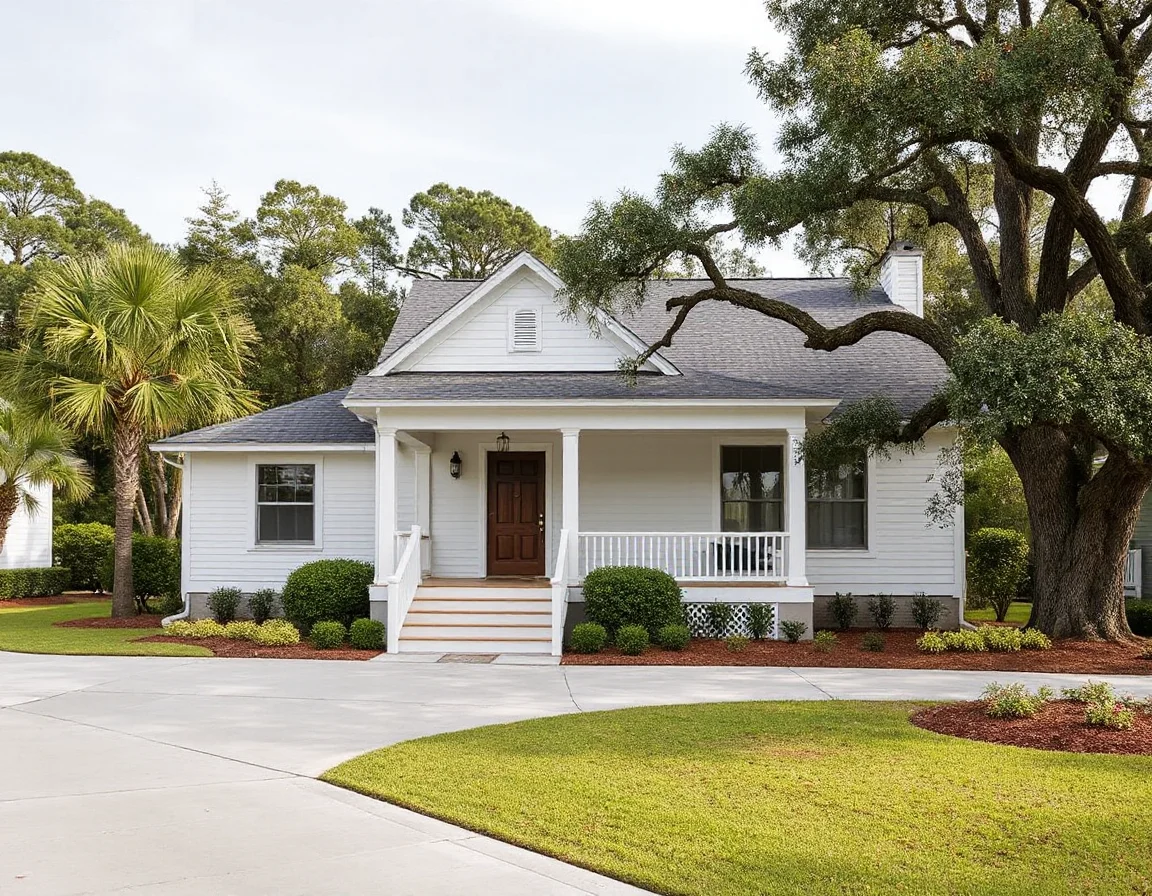
Start at the curb—or, on Kiawah, at the driveway, approach, and entry sequence. Remove extra vehicles, bins, hoses, landscape tools, delivery items, and personal décor that competes with the architecture. Refresh pine straw or mulch where needed, trim visible plant material, rinse pollen from walkways, and make sure exterior lighting, pool equipment covers, and porch furnishings look orderly. A clean approach tells viewers that the home has been cared for before they ever reach the front door.
Inside, think in terms of visual pathways. A camera sees clutter differently than the eye does: stacks on counters, visible cords, pet accessories, oversized furniture, and crowded shelves can make even generous rooms appear smaller. Edit surfaces until they read as intentional. Leave enough character to make a space feel lived in, but create clear sightlines to windows, built-ins, fireplaces, ceiling details, and views.
For photo day, aim for “edited, not empty.” A few well-placed objects can add warmth, while clear counters and open walkways help buyers read a room’s scale and function instantly.
It is also helpful to look at each room through the lens of its purpose. A sitting room should show comfortable seating; a dining area should make the table dimensions easy to understand; a flex room should be staged in a way that demonstrates its current use without limiting the possibilities. Neutral bedding, crisp towels, and coordinated textiles can unify the visual flow from room to room without asking buyers to imagine a complete renovation.
Let Natural Light and Coastal Materials Do the Work
Light is one of the most valuable features in Kiawah Island photography. Open blinds and drapery fully where privacy allows, then clean the glass so views are sharp rather than hazy. Turn on lamps and interior fixtures to balance darker corners, but replace mismatched bulbs beforehand. A consistent warm-white bulb temperature generally photographs more cohesively than a mix of cool and warm light.
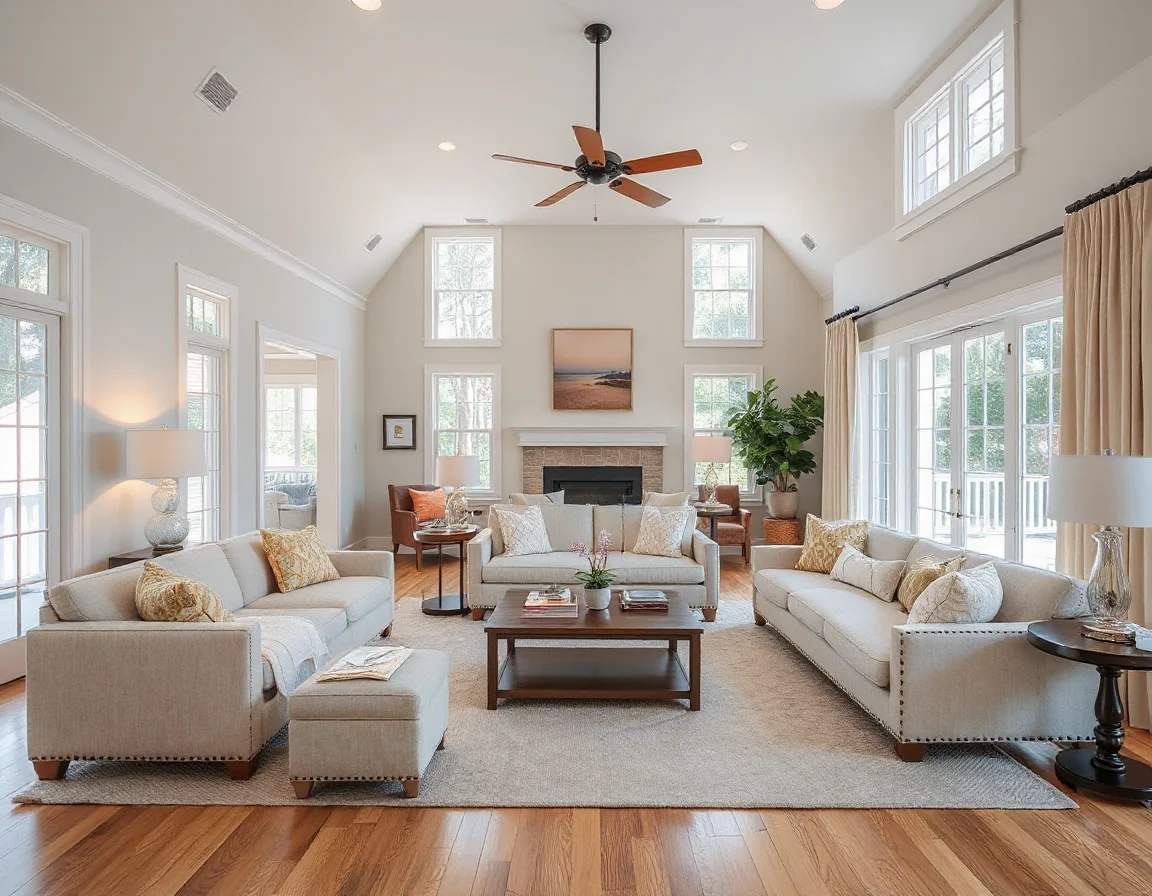
Coastal finishes deserve special attention. Wipe down stainless appliances, polish faucets, clean mirrors edge to edge, and check glass shower doors for water spots. Natural wood, stone, shiplap, woven textures, and painted millwork photograph beautifully when they are clean and unobstructed. If a room includes a standout architectural element—such as a vaulted ceiling, custom mantel, paneled wall, or wide-plank flooring—remove nearby visual distractions so the feature registers clearly.
Kitchens and baths often require the most disciplined editing. In the kitchen, store small appliances, magnets, dish racks, cleaning products, and paper goods. One simple bowl of fruit or a low-profile arrangement is usually enough. In bathrooms, clear nearly everything from vanities except coordinated hand towels and perhaps a restrained decorative accent. Fresh white towels and closed toilet lids are simple details that make a meaningful difference in finished images.
Bedrooms benefit from similarly calm styling. Make beds with smooth, tailored linens; remove personal photographs and excess items from nightstands; and use matching lamps or balanced accessories where possible. Closets may be photographed or viewed during showings, so organize them before the appointment as well. More visible floor area and evenly spaced clothing make storage feel easier to evaluate.
Schedule cleaning, landscaping, and minor repairs before the photographer arrives—not after. Photography can highlight a loose screen, burned-out bulb, stained cushion, or unfinished touch-up that is easy to miss during a normal walk-through.
Make Outdoor Living Spaces Photo-Ready
Outdoor spaces are central to the Kiawah Island experience, so treat them as rooms rather than as afterthoughts. Arrange porch seating into a conversational grouping, straighten cushions, roll up hoses, and remove pool toys, grills covers, garden supplies, and weathered décor. If the home has a pool, confirm that the water is clear and that the deck is swept. If there is a dock, lagoon edge, or marsh-facing area, tidy the approach and preserve an unobstructed line toward the view.
Timing matters outdoors. Lowcountry weather changes quickly, and the right photo window can bring out the color in the landscape without harsh shadows across the façade. Your real estate professional and photographer can consider the home’s orientation, shade from mature trees, and the direction of primary views when planning the session. On a bright day, interior lights and shaded porches may need extra care; on an overcast day, exterior details and landscaping may benefit from a little more visual preparation.
Do not overlook practical details that influence the final set of images. Put away trash and recycling containers, secure pets comfortably off-site or in a location outside the photo route, and turn off ceiling fans before the photographer begins. Open interior doors for a more connected look unless privacy or a particular composition calls for them to remain closed. Close toilet lids, hide remote controls, and check every mirror for reflections of personal items.
Explore Kiawah Island listings
Create a Photo-Day Plan That Feels Manageable
The best staging process is rarely a single day of rushing. Begin with a room-by-room checklist about one week before photography, then reserve the final 24 hours for cleaning, fresh linens, exterior tidying, and last-minute edits. Prioritize repairs that will be visible in photographs: peeling paint, missing hardware, damaged screens, worn caulk, and fixture issues. A modest repair list can have an outsized effect on the perceived condition of a property.
Before the appointment, walk through the home at camera height rather than standing in the center of each room. Notice what appears at the edges: tangled cords beneath a console, an overloaded open shelf, an uneven rug, or a chair that blocks a doorway. This perspective helps reveal what a buyer will see on a screen, where the first few seconds of attention are especially important.
Professional photography should represent the home accurately while highlighting the features that distinguish it. Thoughtful staging is not about hiding the property’s personality; it is about reducing distractions so buyers can focus on the layout, materials, light, and outdoor setting. For waterfront homes, luxury condos, historic properties, and other distinctive residences, that clarity can help the listing feel considered from the first image through the final showing.
When every space is clean, bright, and easy to read, listing photos become more than documentation. They become an invitation to look closer—and a strong first step toward a well-prepared launch.